Managing Shifts
To manage driver schedules, the dispatcher first manually collects driver idle times. These records can then be added to the database for ongoing management.
Create A New Shift
-
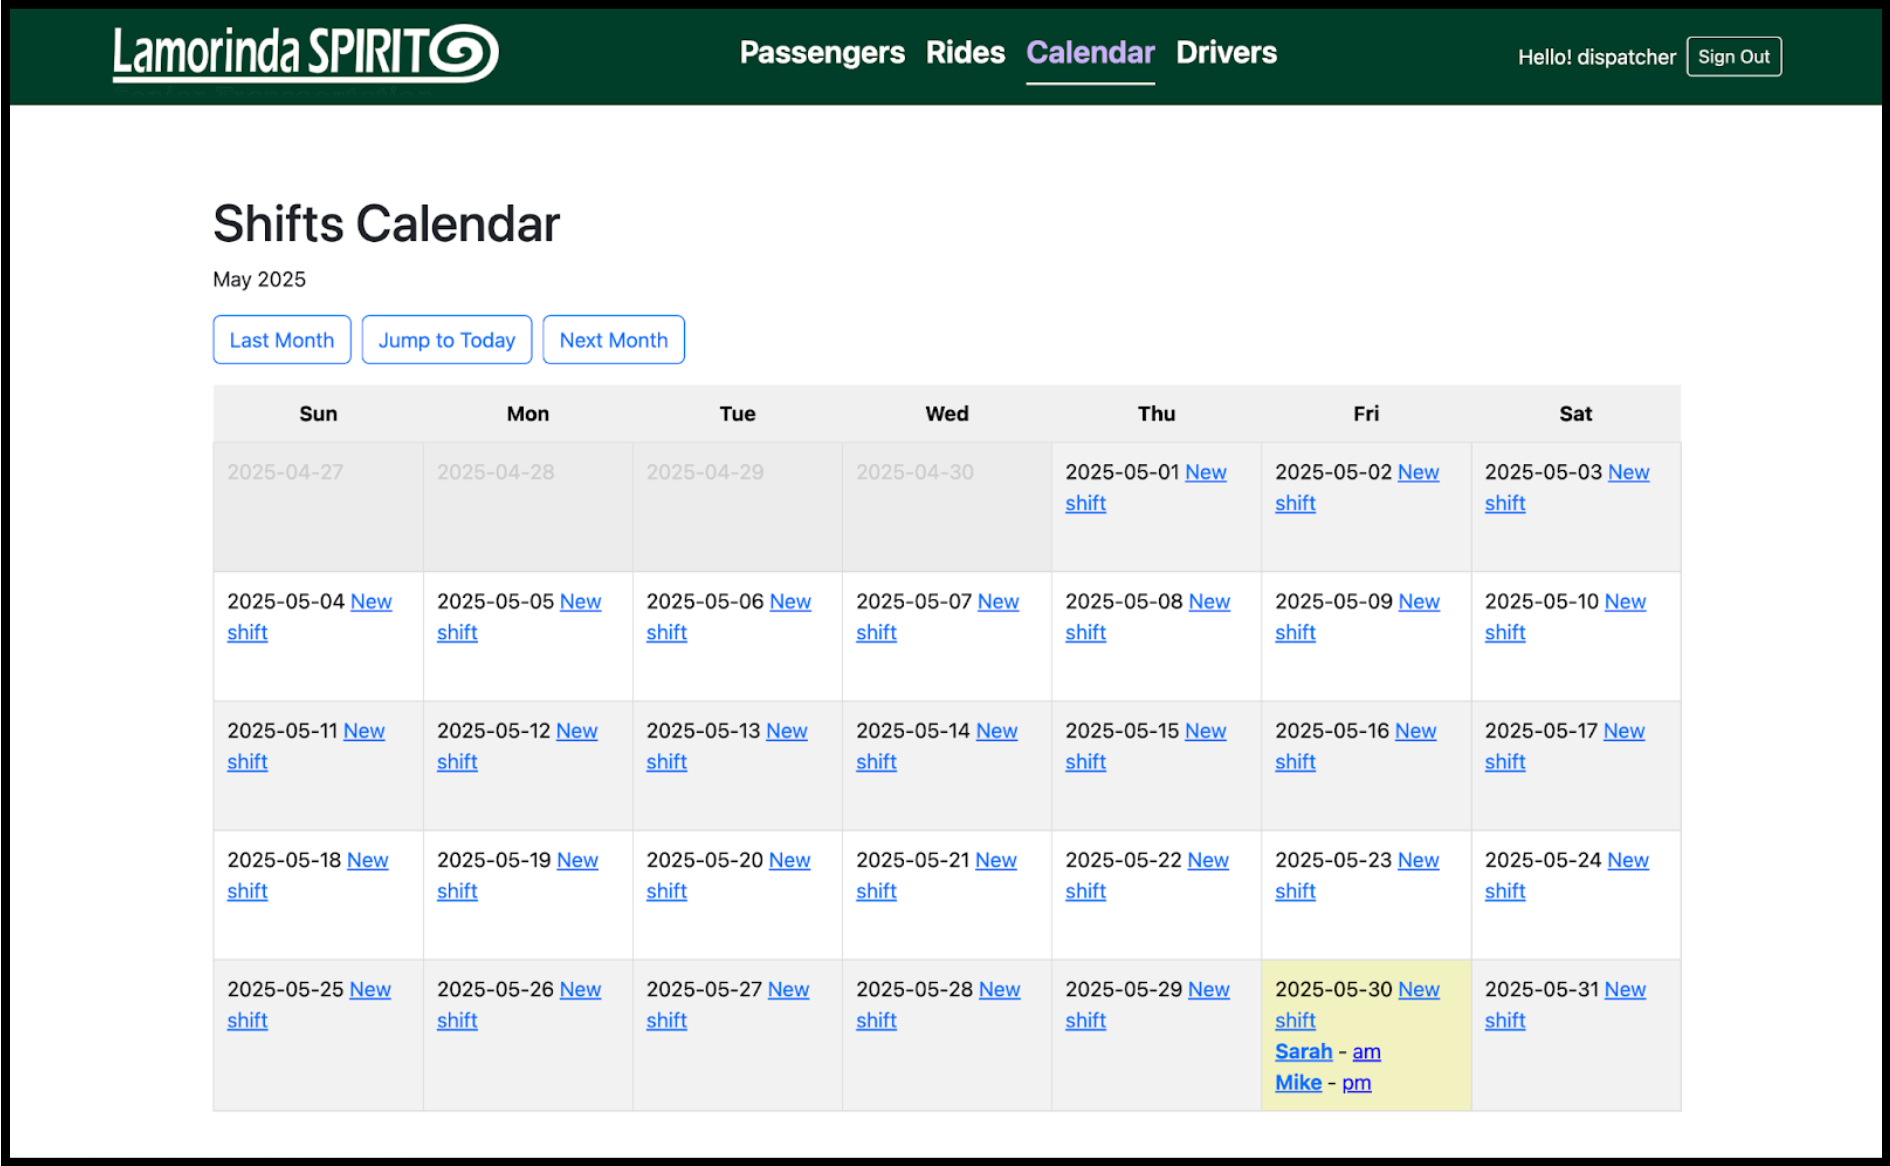
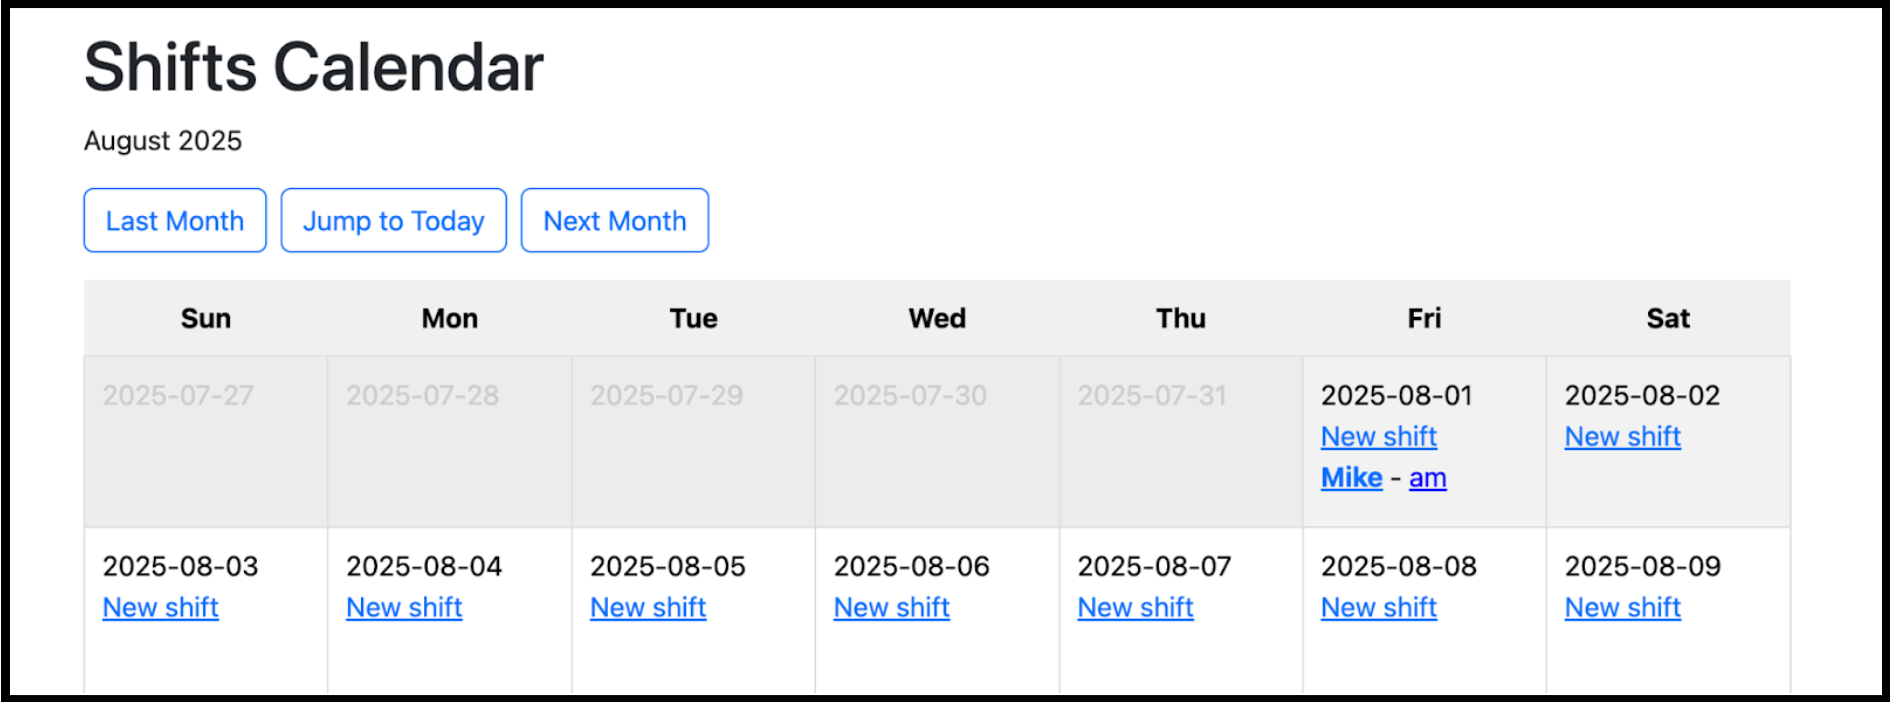
Click the “Calendar” button in the navigation bar. You will see the “Shift Calendar” page.
-
Each day has a “New shift” button. To create a shift, locate the desired date and click its “New shift” button.
-
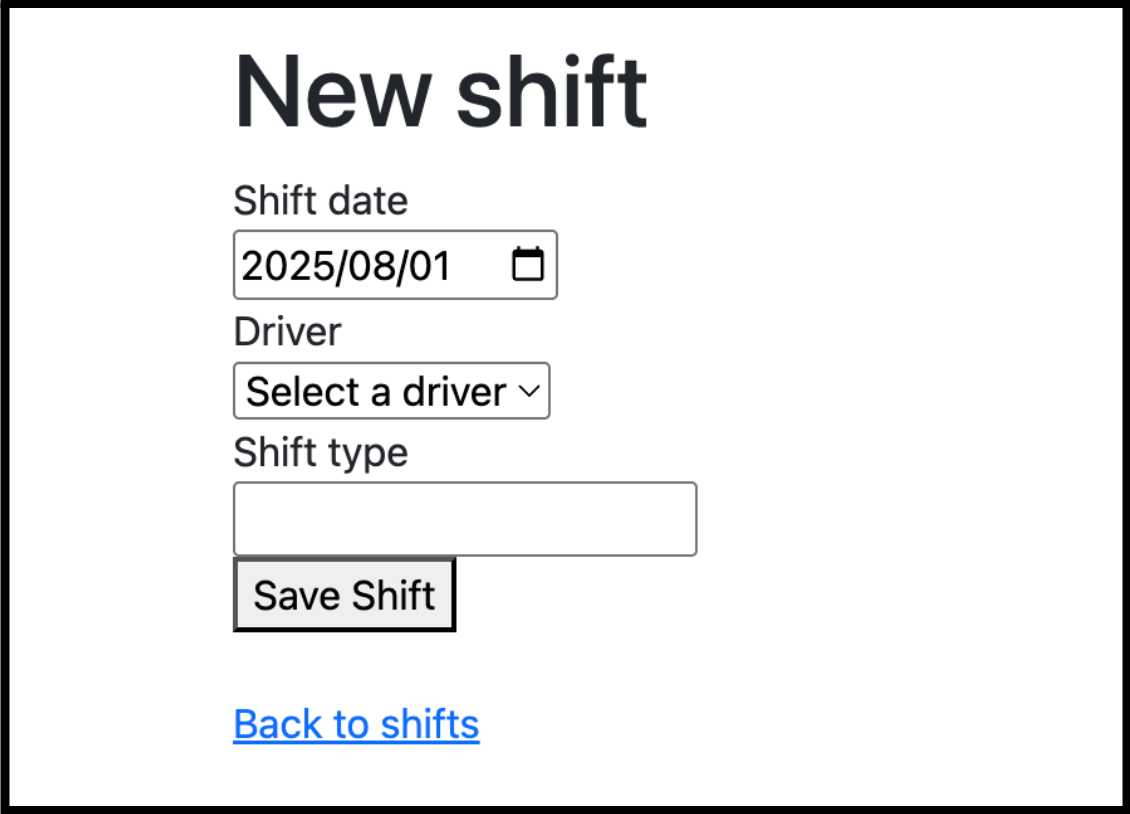
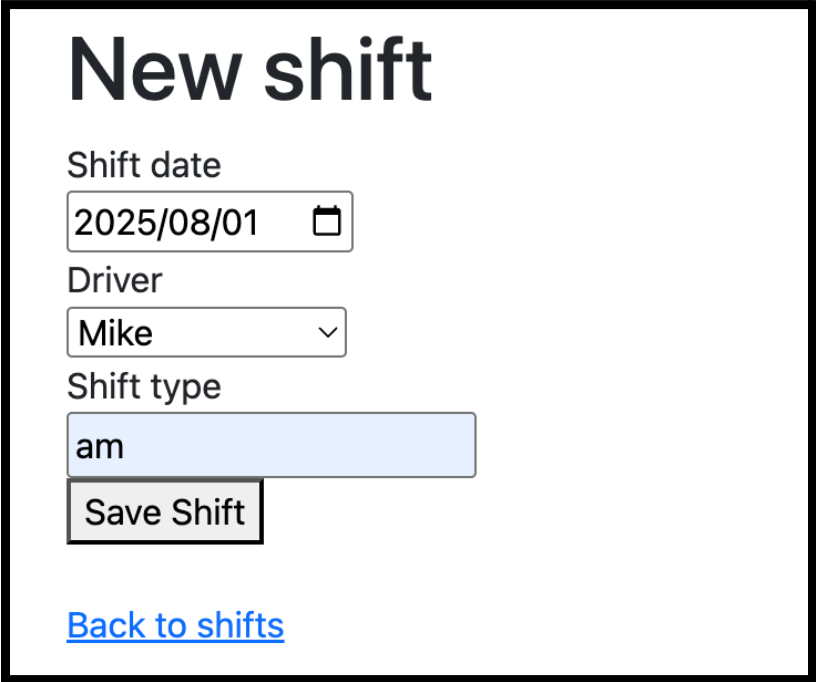
Then select the driver and enter the shift type
-
Click the “Save Shift” button. Then the shift will appear in the corresponding cells on the calendar.
View and Manage Shifts
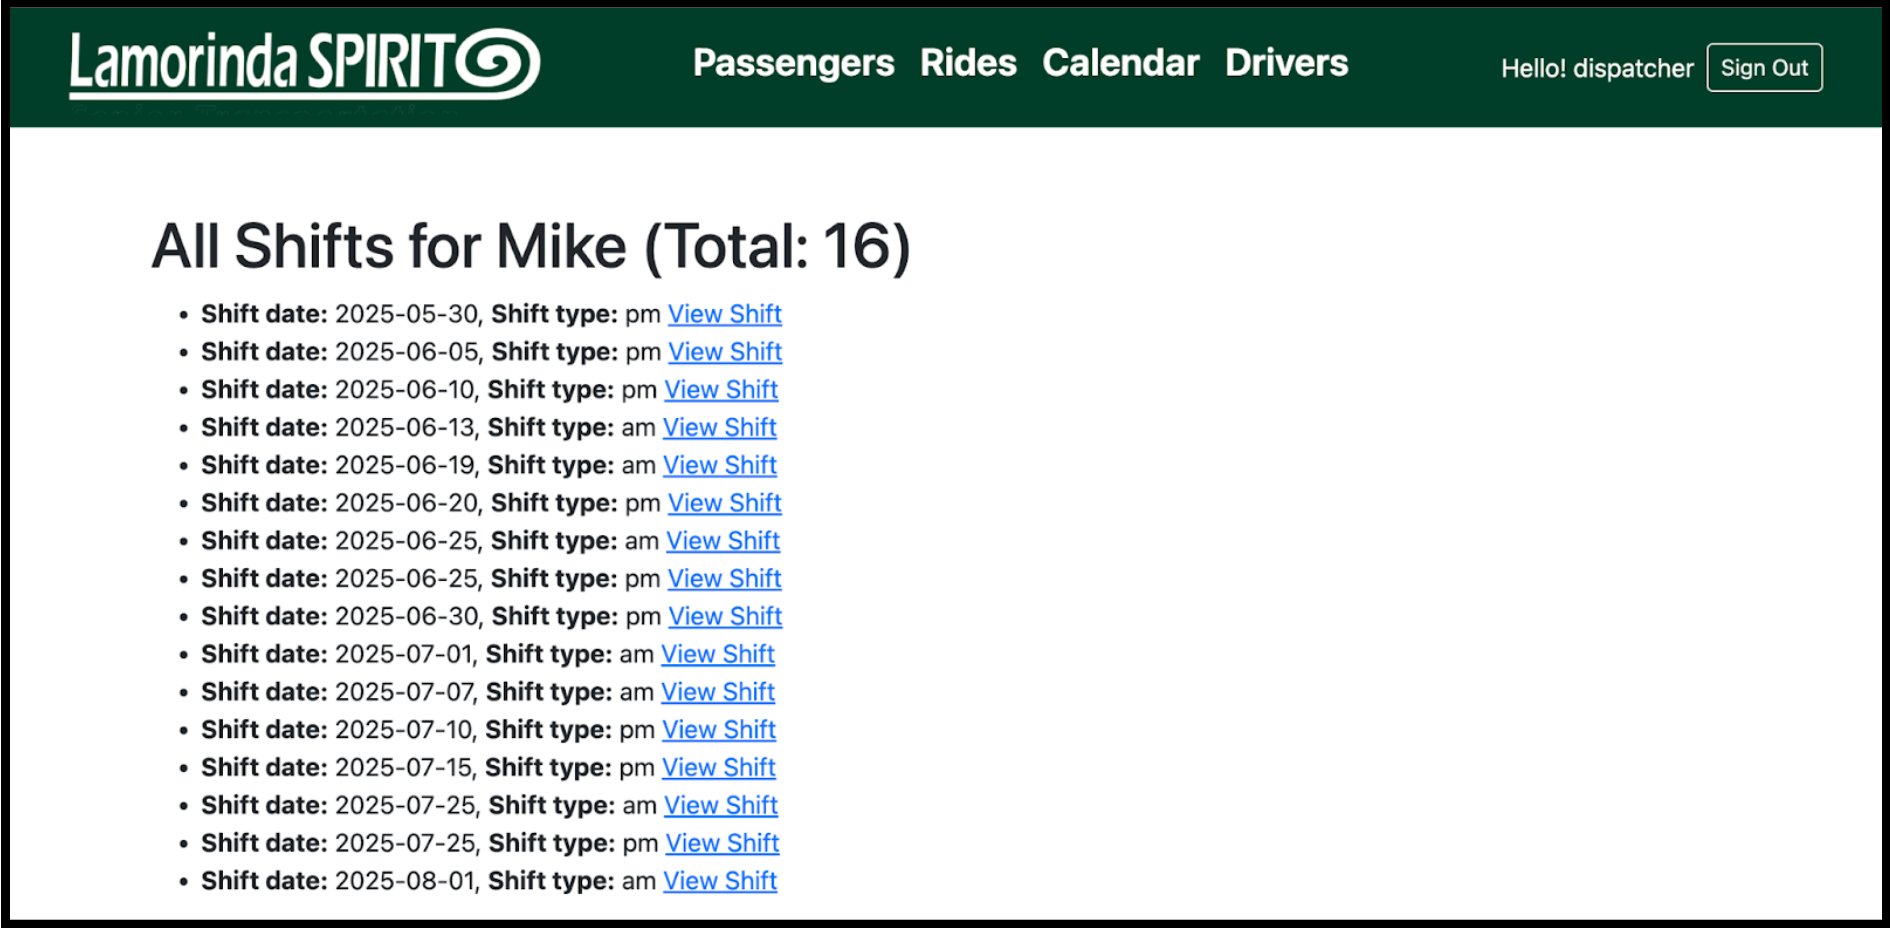
View All Shifts for a Specific Driver
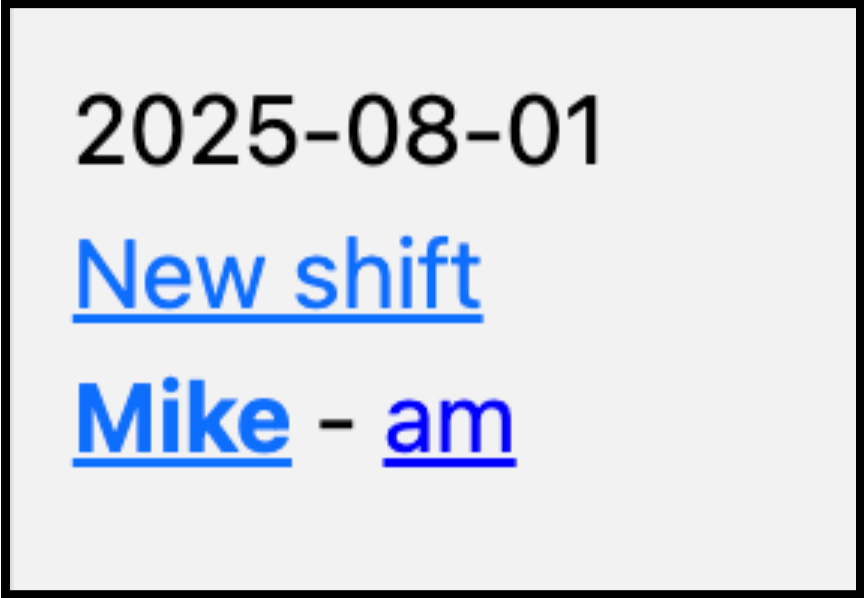
To see a complete list of shifts assigned to a particular driver, click on their name (e.g., “Mike”) directly on the calendar.
Manage an Individual Shift (Edit, Delete, Add Notes)
To modify an existing shift, delete it, or leave a note for the driver associated with it:
Click on the specific shift entry on the calendar (e.g., an “AM” shift). This will open the management options for that shift.
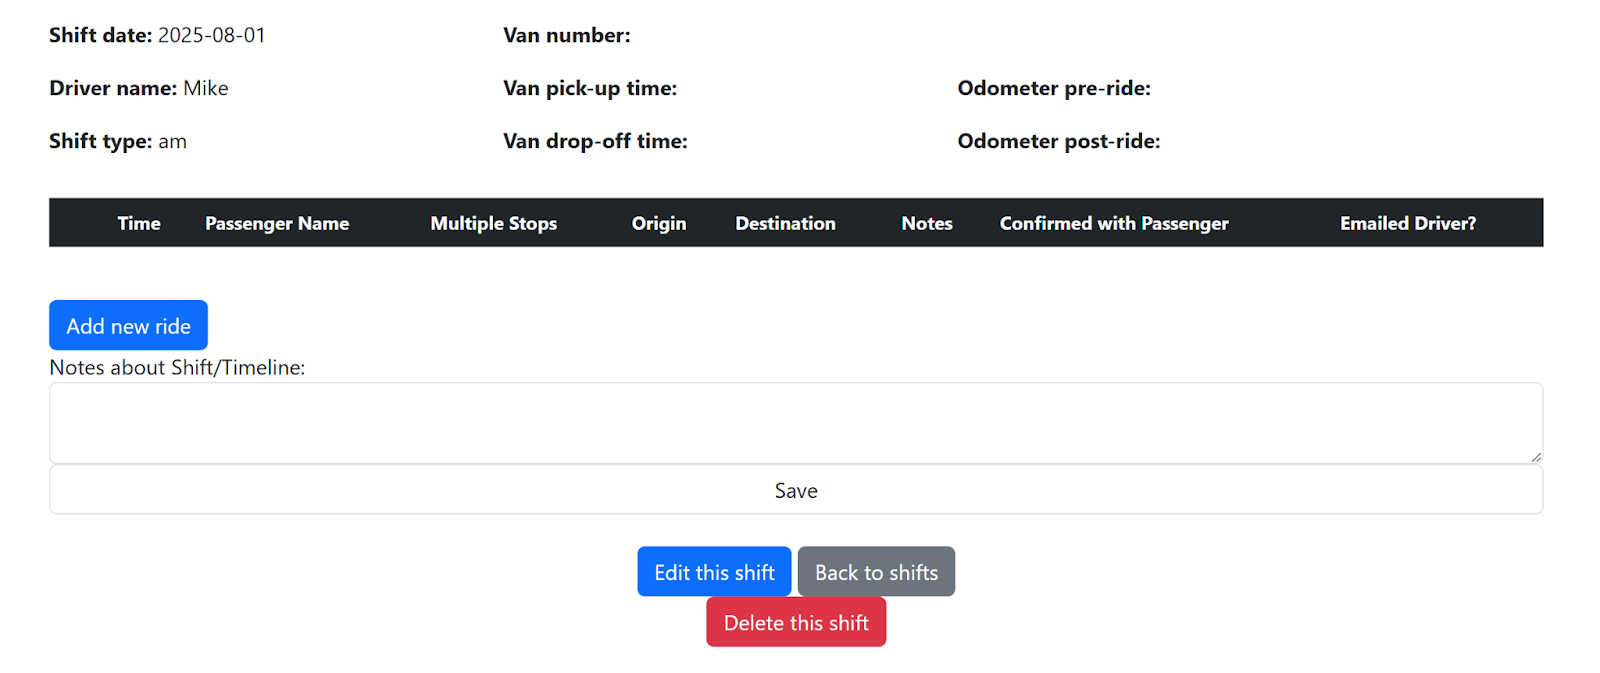
Available Actions
Edit Shift Details
Click “Edit this shift” to change the shift’s date, assigned driver, or type.
Delete Shift:
Click “Delete this shift” to remove the record. Please note: This operation is irreversible.
Return to Calendar
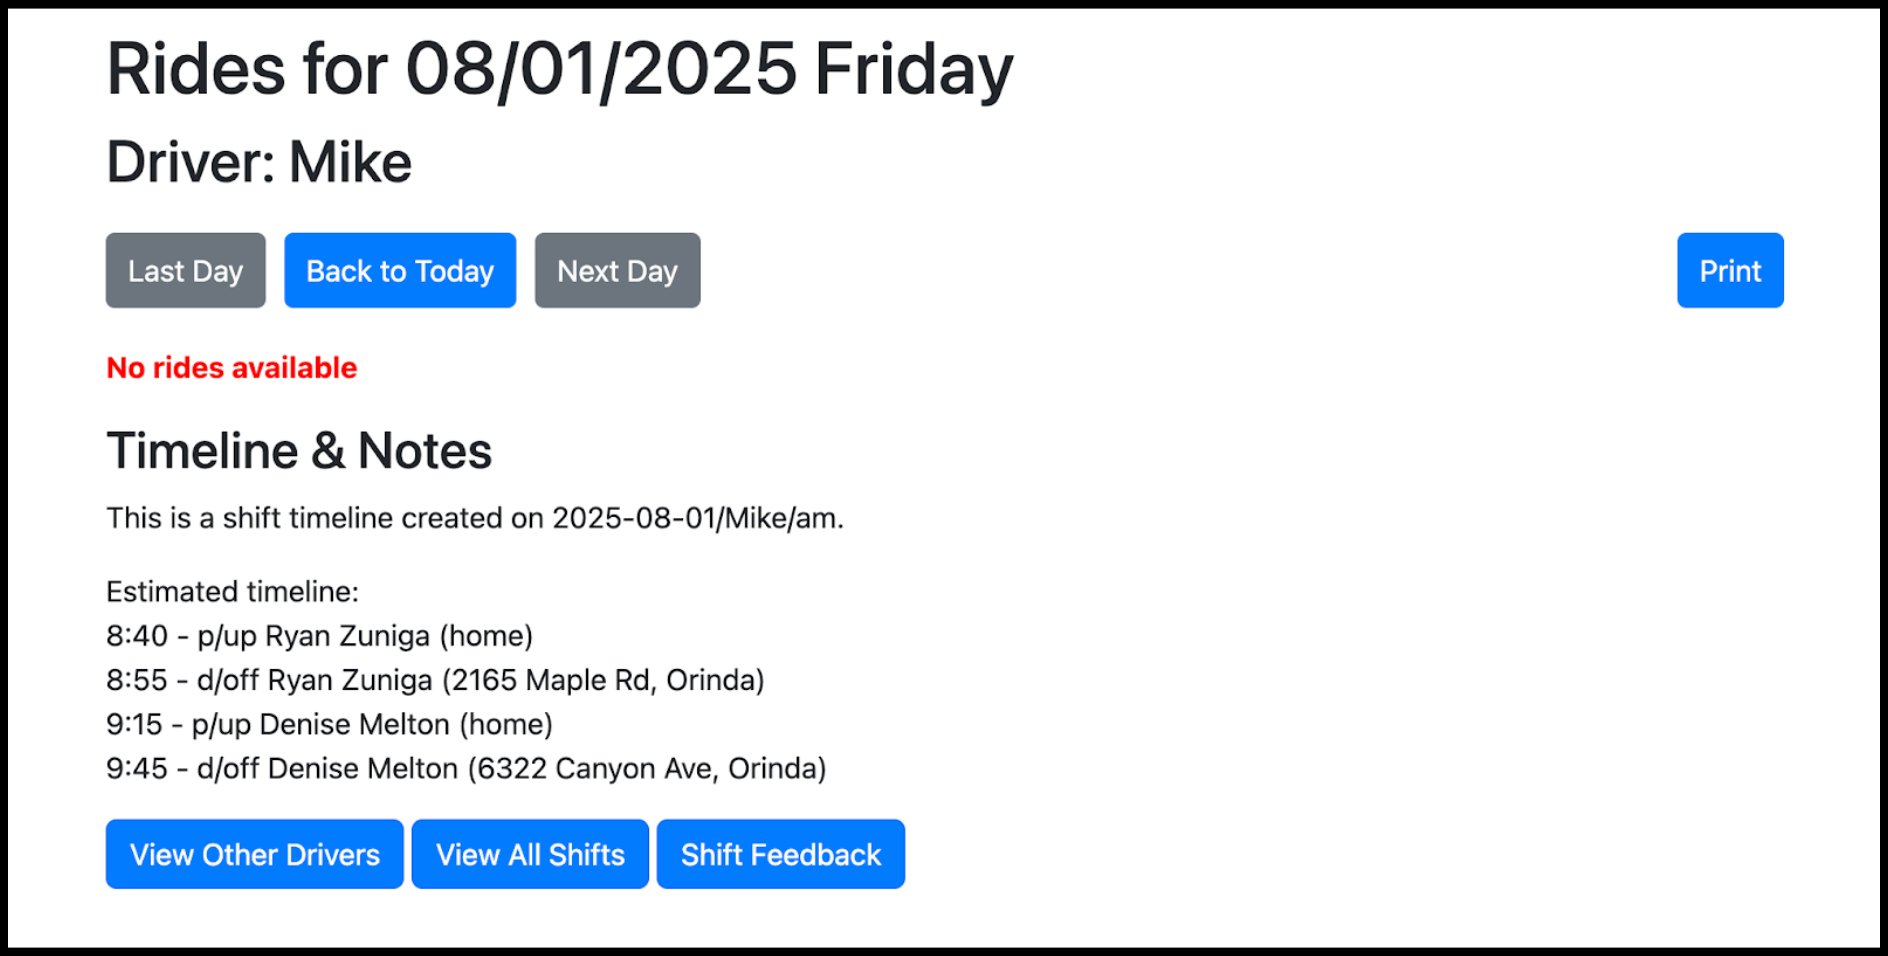
Click “Back to shifts” to go back to the main Shift Calendar page. Leave a Note for the Driver:
You can provide important details or instructions for the driver regarding this specific shift using the rich text editor.
This editor supports line breaks (press Enter for a new line). You can also adjust the editor’s height by dragging the resize handle (often shown as diagonal lines) located in its bottom-right corner.
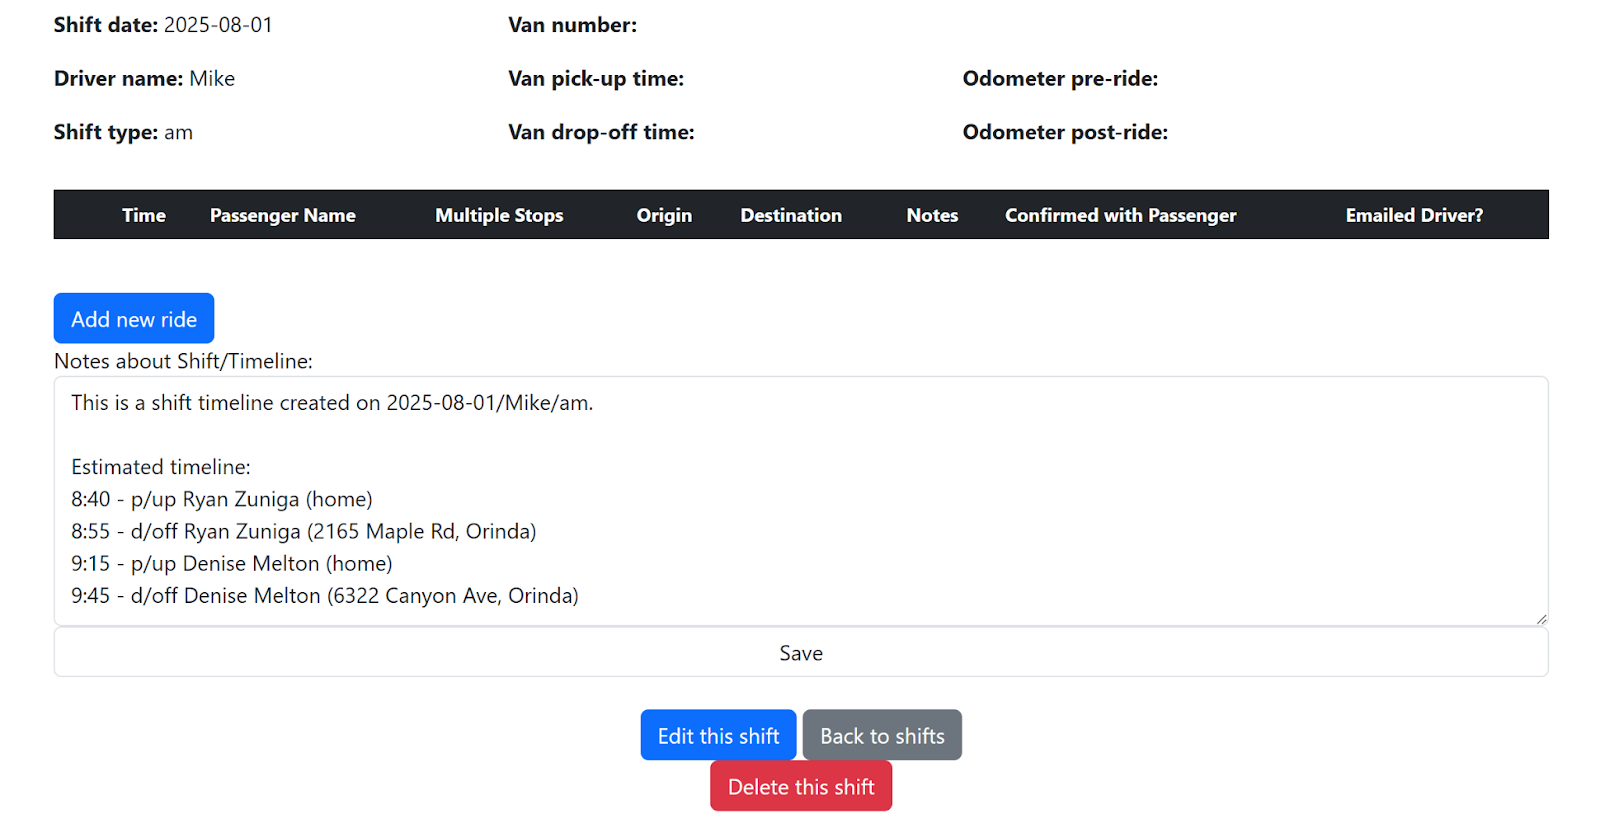
After entering your note, click “Save.” The assigned driver will then be able to see the details you’ve provided when they view their schedule for that corresponding date.